
How to Use Ready-Mix Concrete for DIY Garden Edging Projects
August 1, 2025
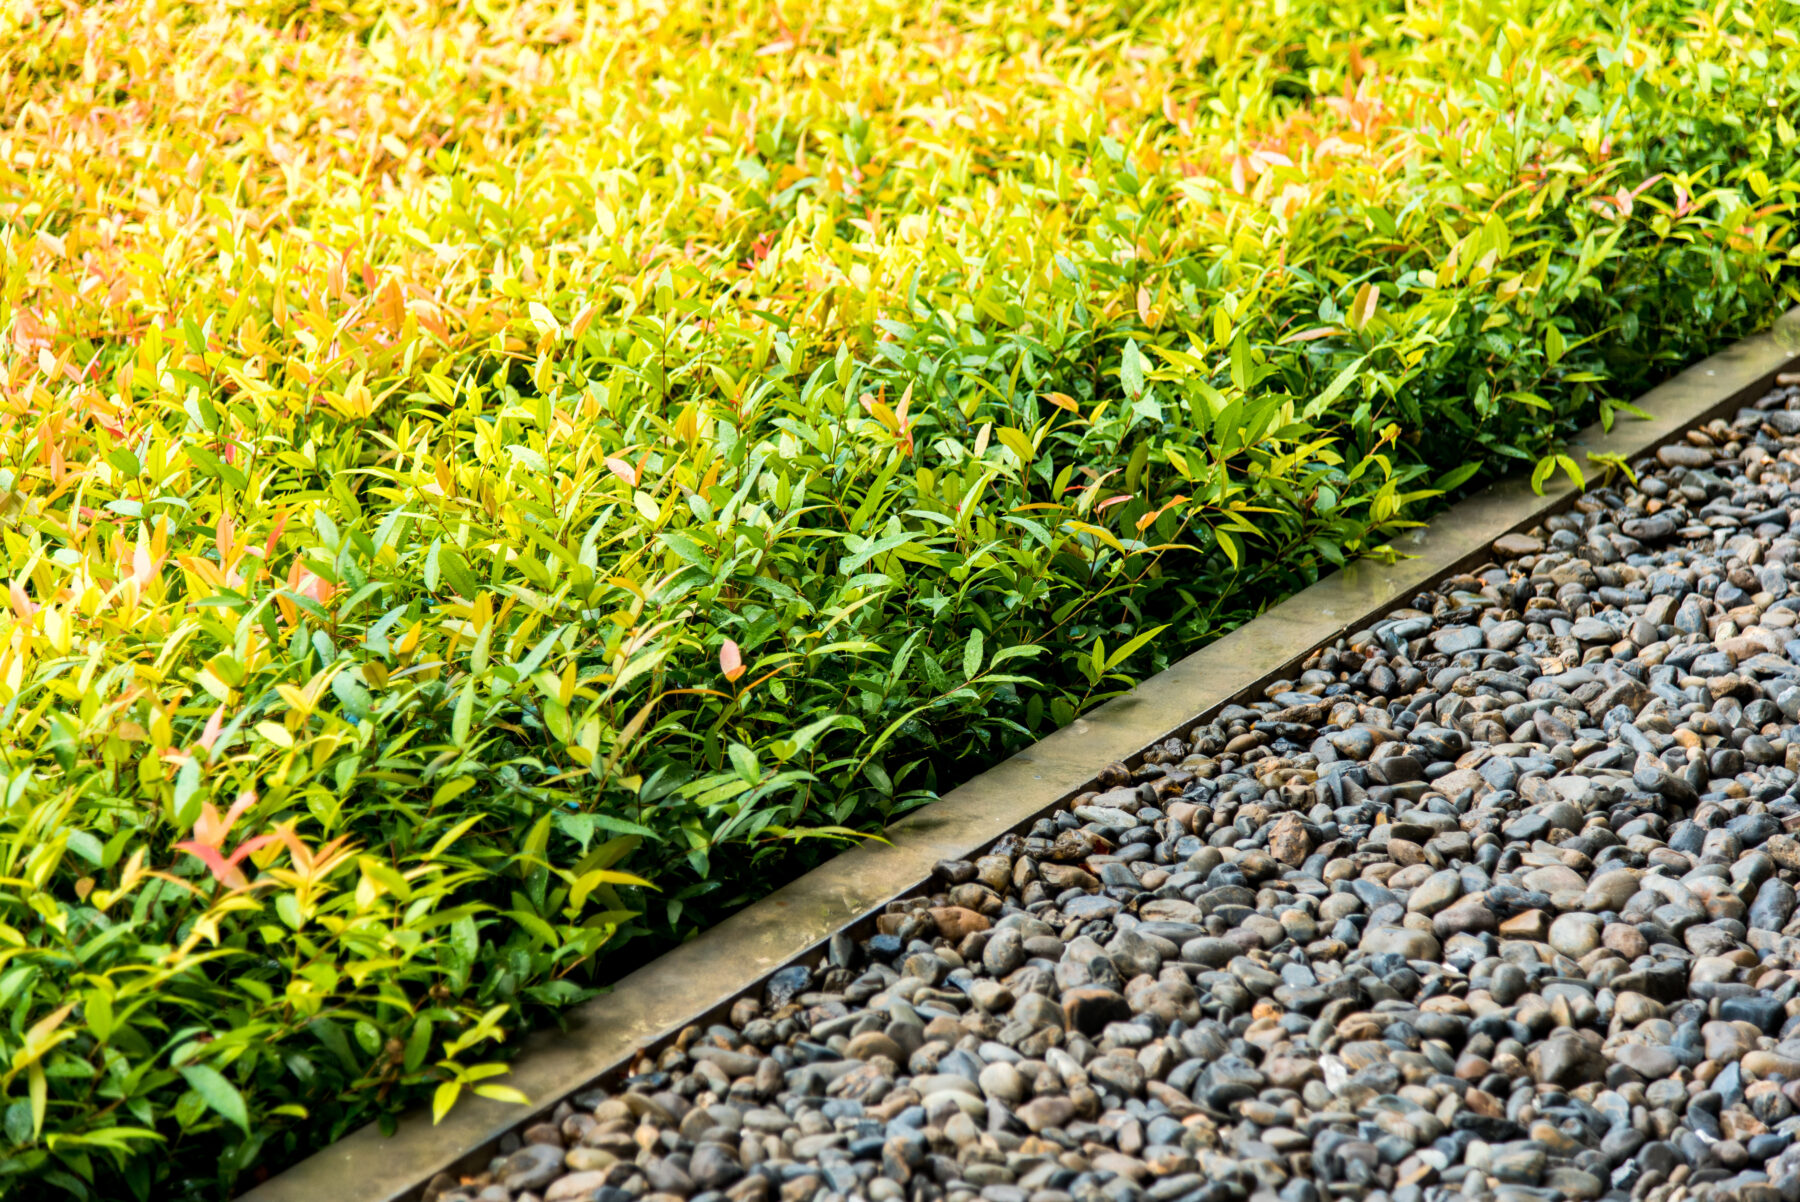
Garden edging can both organize and sharpen the surrounding landscape. It brings intention to the layout, drawing a defined line between grass and garden bed, stone and soil. It is a functional detail that becomes a visual anchor. When ready-mix concrete is applied to this type of installation, the process gains both structure and simplicity. It’s a material that delivers consistent results with a smooth finish that elevates the entire design. The result is a certain confidence that comes with using a material that’s already measured, balanced, and built for durability.
Why Ready-Mix Concrete Works Well for Garden Edging
Ready-mix concrete brings clarity to backyard construction. Pre-blended with the right balance of materials, it delivers consistency from the start and moves each step forward with purpose. The focus is on creating a mix that cures evenly and performs with strength throughout. Every pour builds toward a result that holds its form and function.
For edging specifically, consistency matters. Borders are exposed to temperature swings, garden irrigation, and occasional impacts from tools or equipment. Subpar mixes tend to crack or shift over time. Ready-mix eliminates those risks by giving the material strength and flexibility from the start.
It also offers versatility. Whether forming straight lines, sweeping curves, or segmented patterns, the mix sets quickly while giving just enough working time to shape and finish. That balance opens the door for creative design without sacrificing structural performance.
Planning the Layout Before Pouring Begins
Any garden edging project starts with a layout. Whether following existing beds or creating new divisions, accuracy during the planning phase directly correlates to time savings later. Using rope, spray paint, or stakes and string, define the path clearly. Once mapped, remove grass or soil to create a shallow trench that is roughly 4 to 6 inches deep and about 6 inches wide, depending on the desired border dimensions.
This trench becomes the mold. Straight lines require wood or metal forms secured firmly into the ground. For curves, flexible plastic edging or hardboard works well. The goal is simple: hold the shape without introducing leaks or warping during the pour.
Compacting the base sets the tone for everything that follows. A firm foundation supports long-term stability, especially when the final structure needs to hold its shape when impacted by severe weather and regular use. A tamper or flat board works well to tighten the surface. Adding a few inches of gravel at the bottom of the trench can further strengthen the base while also encouraging proper drainage beneath the concrete.
Pouring and Shaping the Concrete
Once the forms are set and the base is properly compacted, it’s primed for the ready-mix. Delivered with the project-specific blend already in place, it pours easily and streamlines placement. For garden edging, working in sections allows for greater control, especially when addressing curves or detailed transitions. The material stays consistent throughout, supporting the necessary precision and promoting a clean finish.
Pour the ready-mix steadily into the trench, guiding it into corners and curves with a shovel or trowel. Tapping along the sides of the form helps the concrete settle and releases trapped air, giving the surface a more uniform finish. Slightly overfilling the top allows for a clean strike-off with a screed or board, setting a solid foundation for the final detail work.
While the mix remains pliable, shaping the surface becomes the focus. A trowel can smooth it to a clean, polished finish, or a texture tool can introduce subtle pattern and contrast. Beveling the top edge helps direct water flow and strengthens the visual line. Stamped impressions or hand-tooled accents can add dimension, reinforcing the balance between form and function.
Curing and Continued Care
Once the concrete is shaped, the focus shifts to curing. This step locks in strength and ensures the edge holds up over time. Covering the surface with plastic or damp burlap helps retain moisture and supports an even cure. A light misting each day for several days, depending on the climate, encourages durability from the inside out.
When the cure is complete, forms come off and the surrounding landscape can be restored. Soil or mulch can be pulled back into place, blending the new edge into its environment. If any surface touch-ups are needed, a light pass with a file or sanding block is usually all that’s required.
Ongoing care is simple and straightforward. A concrete sealer applied every other year can help resist weather and preserve any color or finish that was added. Done right, these borders will be built to last and require very little to stay looking sharp.
Ready-mix concrete brings structure and clarity to garden edging, turning design lines into lasting elements of the landscape. With the mix already balanced and ready to use, attention can stay on the layout, the flow, and the finish. It supports creativity while keeping the process grounded and efficient. For projects built to hold their shape through various seasons, ready-mix delivers the kind of durability that keeps every edge right where it belongs.